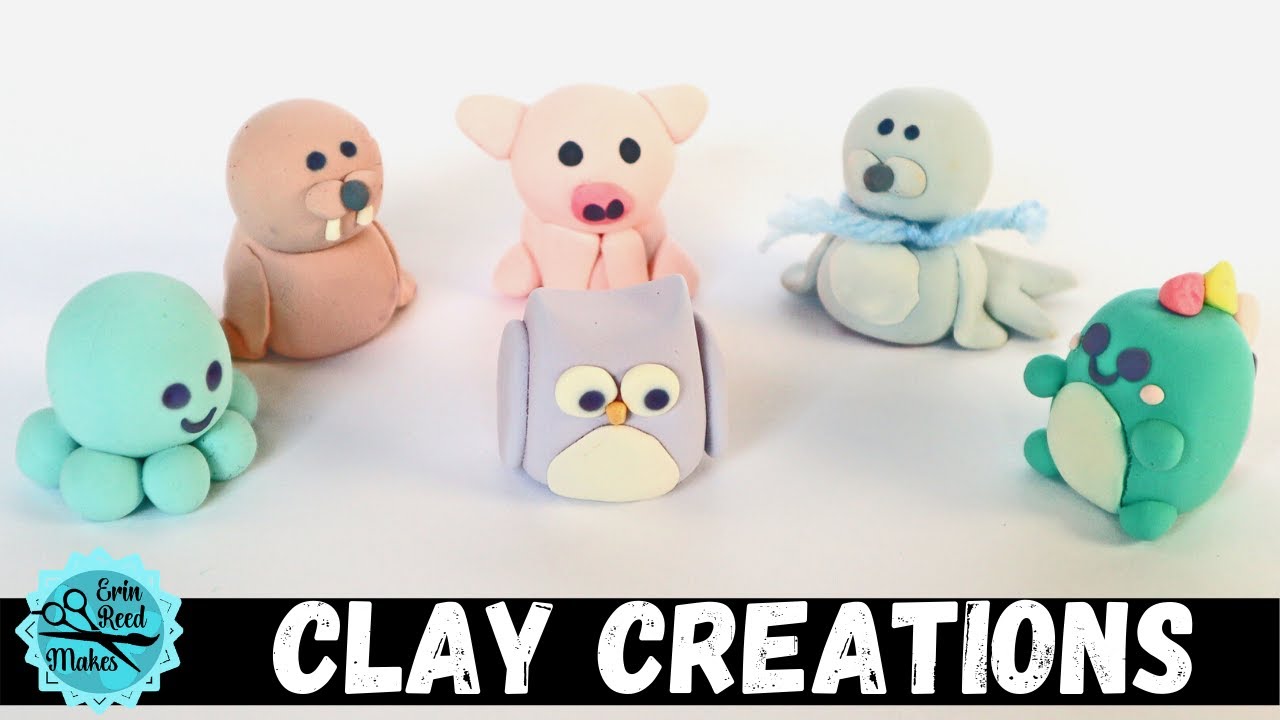
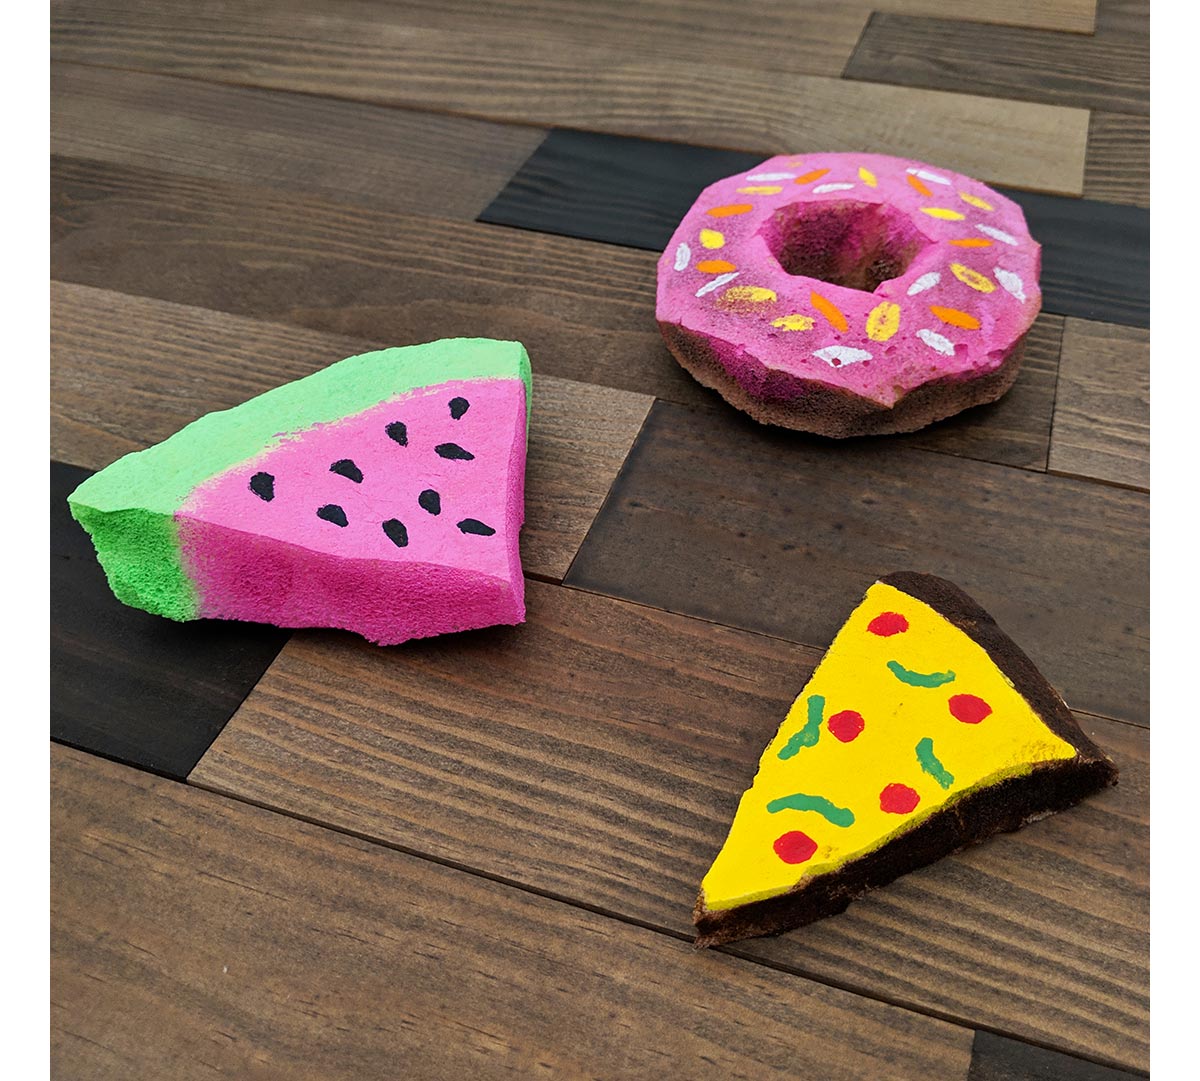
Things to make with air dry clay open a world of creative possibilities, from simple crafts for beginners to intricate projects for seasoned artists. Air dry clay, as its name suggests, hardens in the air, eliminating the need for a kiln, making it a versatile and accessible medium for crafting enthusiasts of all skill levels.
The beauty of air dry clay lies in its malleability. It allows you to shape and mold your ideas into tangible creations. You can create everything from charming animal figurines and decorative ornaments to personalized gifts and even functional home decor items. The possibilities are endless, limited only by your imagination.
Basic Air Dry Clay Techniques
Air dry clay is a versatile material that can be used to create a wide range of crafts, from simple ornaments to intricate sculptures. It is a popular choice for beginners because it is easy to work with and does not require firing in a kiln. This section will guide you through the basics of working with air dry clay, from preparing the clay to adding details and textures.
Preparing Air Dry Clay
Before you start crafting, it’s essential to prepare your air dry clay properly. This involves softening the clay and making it workable.
- Kneading the Clay: The first step is to knead the clay. This helps to soften it and remove any air bubbles that may be trapped inside. You can knead the clay by hand or use a clay roller. To knead by hand, use your palms to press and fold the clay, similar to kneading bread. Knead for several minutes until the clay is smooth and pliable.
- Adding Water: If the clay is too dry, you can add a few drops of water to make it more workable. Add water gradually, kneading the clay after each addition, until it reaches the desired consistency. Avoid adding too much water, as this can make the clay too sticky and difficult to work with.
- Storing the Clay: Once you have prepared the clay, it is important to store it properly to prevent it from drying out. Wrap the clay tightly in plastic wrap or store it in an airtight container. If you are not using the clay immediately, you can also store it in a sealed plastic bag.
Shaping and Molding Air Dry Clay
Once the clay is prepared, you can start shaping and molding it into your desired form.
- Using Your Hands: For simple shapes, you can use your hands to mold the clay. This method is suitable for creating basic forms like spheres, cylinders, and cones. You can also use your fingers to create details and textures.
- Using Tools: For more intricate shapes, you can use various tools to shape the clay. Some common tools include:
- Clay Rolling Pin: To create even slabs of clay, you can use a rolling pin to roll out the clay to a desired thickness.
- Sculpting Tools: These tools come in a variety of shapes and sizes, allowing you to create intricate details, carve designs, and smooth out surfaces.
- Molds: Molds can be used to create various shapes, from simple geometric shapes to complex figures. Press the clay into the mold, and let it dry completely before removing it from the mold.
- Combining Techniques: You can combine different techniques to create unique and complex shapes. For example, you can use your hands to shape a basic form, then use sculpting tools to add details. You can also use molds to create specific shapes and then combine them with hand-shaped elements.
Adding Details and Textures, Things to make with air dry clay
Adding details and textures can enhance the appearance of your air dry clay projects. Here are some techniques to consider:
- Impressions: You can create textures by pressing objects into the clay. For example, you can use lace, fabric, or leaves to create interesting patterns.
- Sculpting Tools: Use sculpting tools to carve details into the clay, such as lines, grooves, or patterns.
- Toothpicks: Toothpicks can be used to create small holes or dots in the clay, adding a unique texture.
- Paints and Glazes: Once the clay has dried completely, you can paint it with acrylic paints or apply a glaze for a smooth, glossy finish.
Air Dry Clay for Community Projects

Air dry clay is a versatile material that can be used to create a wide range of projects. It is also a great material for community projects, as it is affordable, easy to use, and can be molded into any shape.
Using air dry clay in community projects can be a fun and engaging way to bring people together and foster creativity. It can also be used to create meaningful and lasting art pieces that can be displayed in public spaces or donated to local charities.
Ideas for Community Projects
Here are some ideas for community projects using air dry clay:
- Create a community mural by having participants mold individual clay tiles that are then assembled together to form a larger artwork.
- Organize a clay sculpture contest where participants can create sculptures on a specific theme.
- Host a clay workshop where participants can learn basic clay techniques and create their own projects.
- Create clay ornaments for a local charity event or fundraiser.
- Design and build a clay model of a local landmark or historical site.
Designing a Collaborative Art Project
When designing a collaborative art project using air dry clay, it is important to consider the following:
- Theme: Choose a theme that is relevant to the community and will resonate with participants. This will help to ensure that everyone is engaged and invested in the project.
- Materials: Ensure that you have enough air dry clay for all participants, as well as any other necessary materials such as tools, paint, and varnish.
- Instructions: Provide clear and concise instructions on how to use the air dry clay and how to create the desired project. This will help to ensure that everyone is able to participate successfully.
- Timeline: Set a realistic timeline for the project and ensure that everyone is aware of the deadlines. This will help to keep the project on track and prevent any delays.
- Display: Consider how the finished project will be displayed. Will it be placed in a public space, donated to a local charity, or sold to raise funds? This will help you to plan for the appropriate size and shape of the project.
Benefits of Using Air Dry Clay for Community Engagement
There are many benefits to using air dry clay for community engagement:
- Accessibility: Air dry clay is a relatively inexpensive material that is easy to find and use. This makes it accessible to people of all ages and abilities.
- Creativity: Air dry clay allows participants to express their creativity and explore different artistic techniques. This can be a fun and rewarding experience for everyone involved.
- Collaboration: Collaborative art projects using air dry clay can help to build teamwork and communication skills. Participants can work together to create something unique and meaningful.
- Community Building: Community projects using air dry clay can help to bring people together and foster a sense of community. This can be especially important in areas where people may not know each other well.
Closing Summary: Things To Make With Air Dry Clay
Air dry clay offers a rewarding and accessible creative outlet, allowing you to express your artistic vision without the need for specialized equipment or expertise. Whether you’re a seasoned crafter or just starting out, air dry clay provides a platform to explore your creativity, experiment with different techniques, and bring your ideas to life. So, gather your supplies, let your imagination run wild, and embark on a journey of crafting with air dry clay.
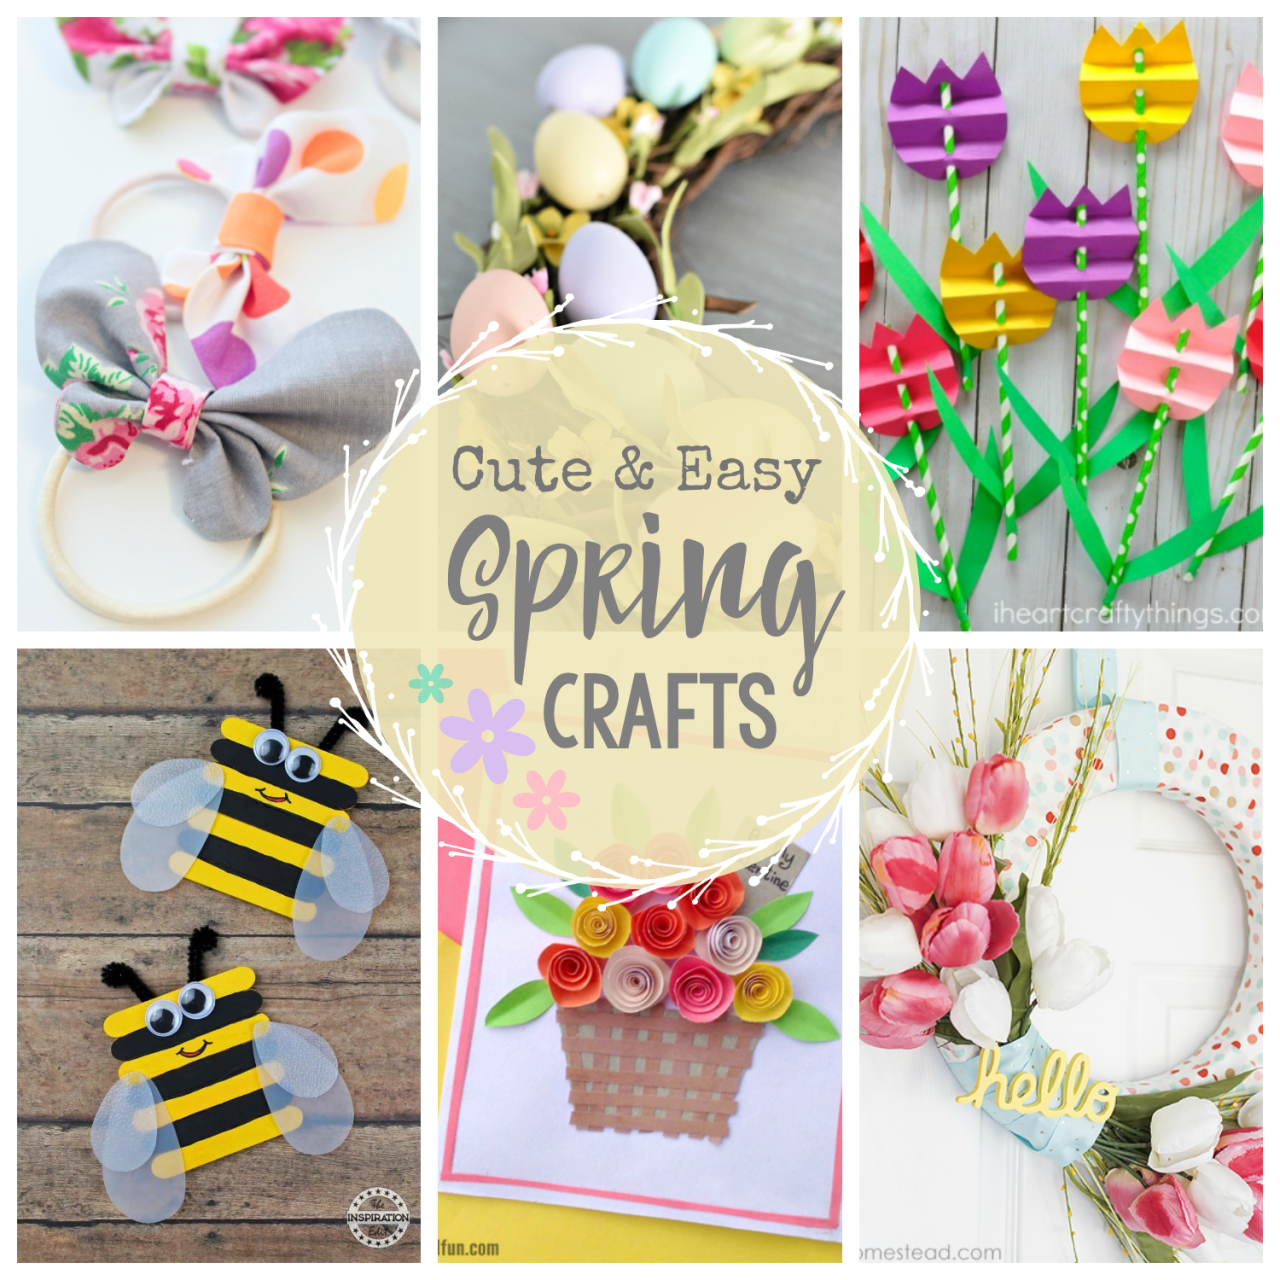
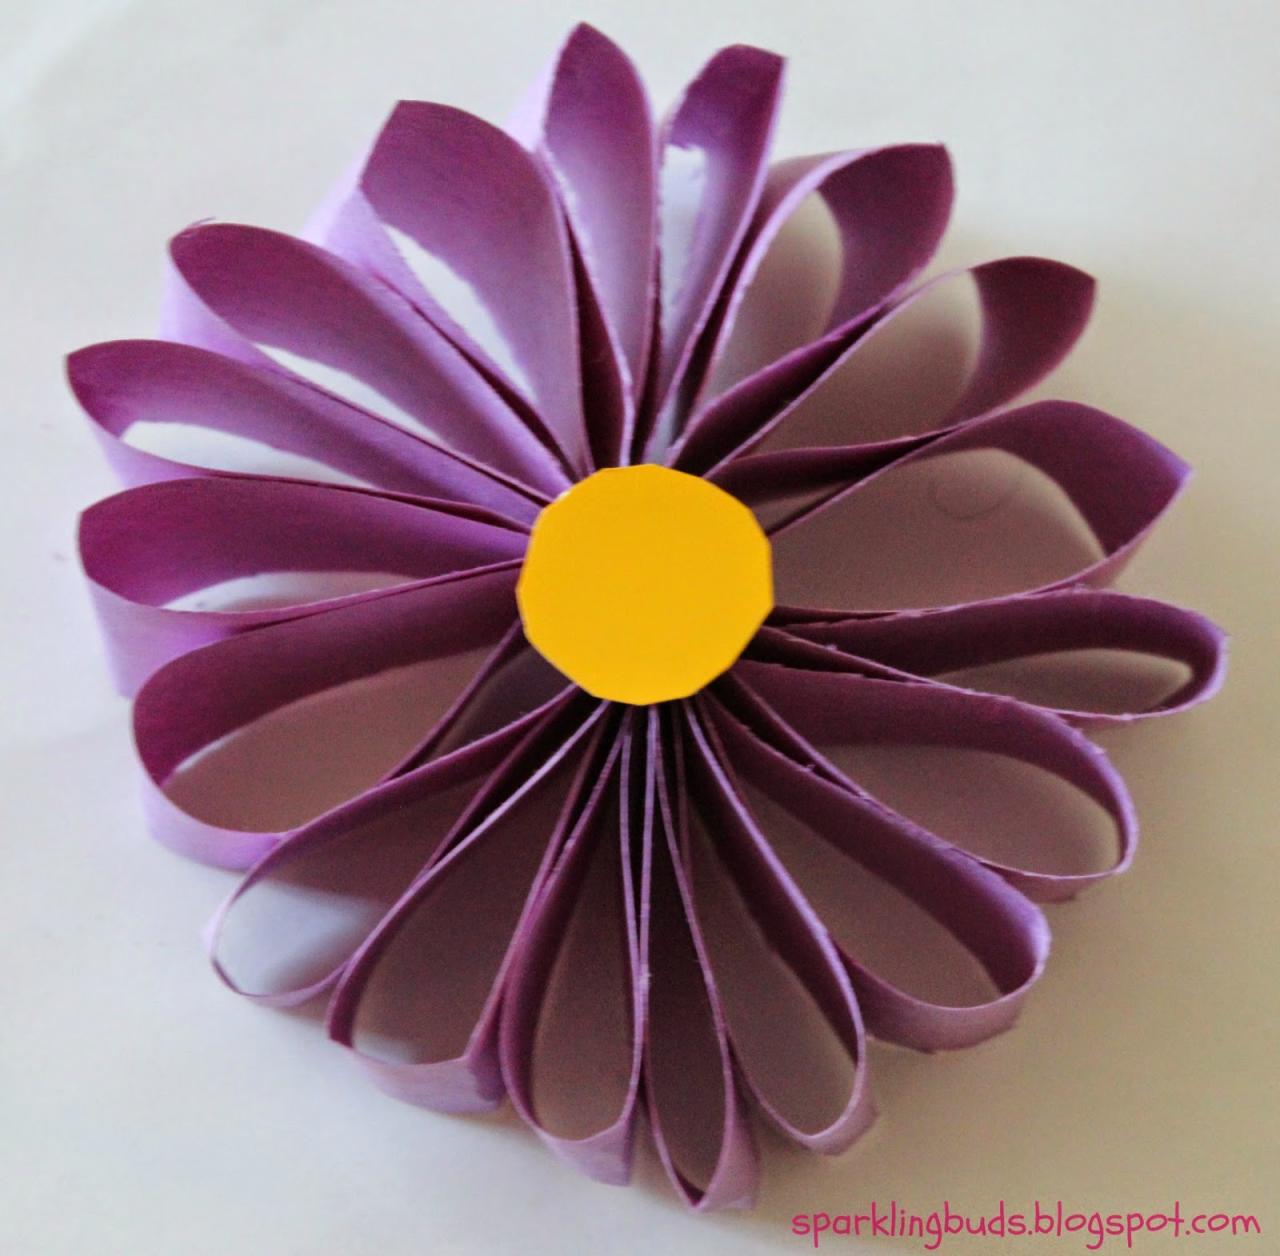
Air dry clay is a fantastic material for crafting unique and personalized items. From adorable figurines to functional jewelry, the possibilities are endless. If you’re looking for a more paper-based project, you can explore the world of DIY paper crafts , which offer a wide range of creative options, from origami to paper flowers.
Whether you choose clay or paper, both mediums allow you to unleash your inner artist and create beautiful handmade treasures.


