DIY decoration ideas offer a fantastic way to personalize your home and express your unique style without breaking the bank. From repurposing old furniture to creating custom storage solutions, the possibilities are endless. Whether you’re looking for budget-friendly decor, creative wall art, or sustainable solutions, DIY projects can add a touch of charm and character to any space.
This guide explores a wide range of DIY decoration ideas, covering everything from upcycling and repurposing to seasonal decorations and personalized touches. We’ll provide step-by-step instructions, tips, and inspiration to help you transform your home into a reflection of your personality and taste.
DIY Storage Solutions
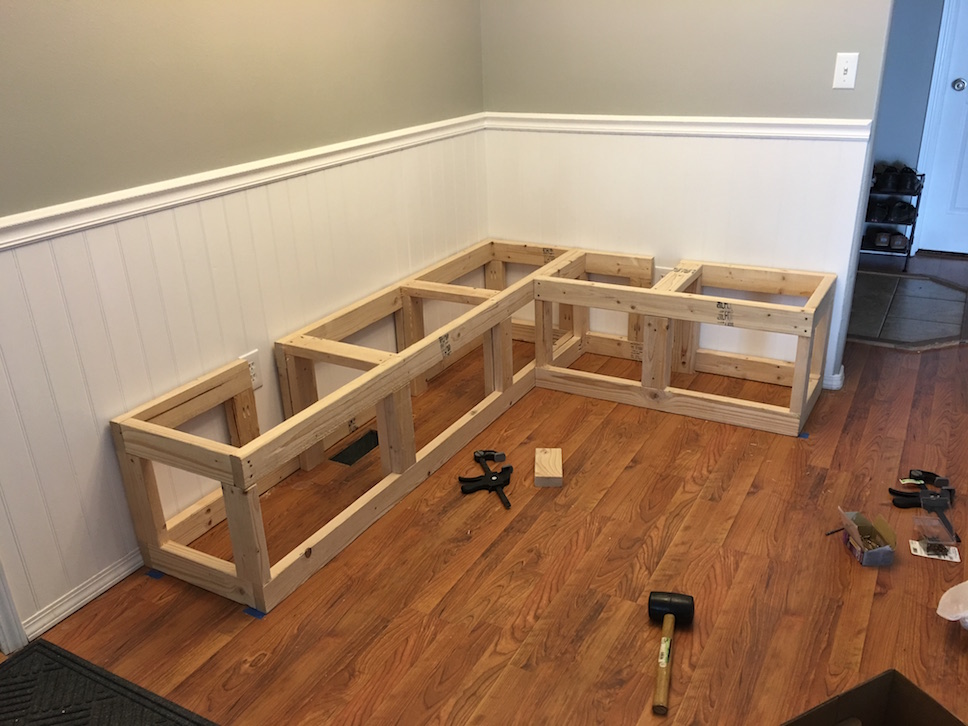
Creating custom storage solutions can be a rewarding and cost-effective way to organize your home and maximize space. By designing and building your own storage systems, you can tailor them to your specific needs and preferences, ensuring that every item has its place.
Benefits of Custom Storage Solutions
Custom storage solutions offer several benefits compared to commercially available options. They allow you to:
- Maximize Space: Custom designs can utilize every inch of available space, eliminating wasted areas and creating a more efficient layout.
- Tailor to Specific Needs: Whether you need specialized shelving for books, drawers for clothes, or a unique storage solution for tools, custom designs allow you to meet your specific requirements.
- Enhance Aesthetics: By choosing materials, colors, and finishes that complement your existing décor, you can create storage solutions that blend seamlessly with your home’s style.
- Save Money: While initial materials and labor costs may seem higher, building your own storage solutions can often be more cost-effective than purchasing pre-made units, especially for large or complex designs.
Designing a Storage System for a Bedroom
Let’s design a storage system for a small bedroom using a combination of wood, fabric, and metal. The system will incorporate a bookshelf, a dresser, and a storage cabinet.
- Bookshelf: A simple bookshelf can be built using pine boards and metal brackets. The bookshelf can be mounted on the wall, maximizing floor space. To add visual interest, consider using different wood stains or paints for the shelves and brackets.
- Dresser: A dresser can be constructed using plywood for the frame and drawers. Fabric drawers can be added for a softer touch and to provide a visual contrast. Metal drawer pulls can add a modern element to the design.
- Storage Cabinet: A storage cabinet can be built using a combination of wood and metal. The frame can be made of sturdy wood, and metal doors can be used for durability and a sleek look. Internal shelves can be added to create different storage compartments.
Building a DIY Bookshelf, Diy decoration ideas
Building a DIY bookshelf is a straightforward project that can be completed with basic woodworking skills and tools.
- Materials:
- Pine boards (for shelves and sides)
- Metal brackets (for support)
- Wood stain or paint (optional)
- Screws and drill
- Level
- Measuring tape
- Saw
- Sandpaper
- Instructions:
- Cut the pine boards to the desired length and width for the shelves and sides.
- Sand the boards to smooth out any rough edges.
- Stain or paint the boards, if desired.
- Attach the metal brackets to the wall, ensuring they are level.
- Place the shelves on the brackets, securing them with screws.
Building a DIY Dresser
Building a DIY dresser involves more intricate woodworking techniques, but it’s still achievable for those with intermediate skills.
- Materials:
- Plywood (for frame and drawers)
- Fabric (for drawer fronts)
- Metal drawer pulls
- Wood glue
- Screws and drill
- Saw
- Sandpaper
- Measuring tape
- Staple gun
- Instructions:
- Cut the plywood to create the frame and drawer boxes.
- Sand the plywood pieces smooth.
- Assemble the frame and drawer boxes using wood glue and screws.
- Cut the fabric to fit the drawer fronts, leaving extra for seams.
- Staple the fabric to the drawer fronts, creating a clean and professional finish.
- Attach the drawer pulls to the drawer fronts.
- Insert the drawers into the dresser frame.
Building a DIY Storage Cabinet
Building a DIY storage cabinet requires more advanced woodworking skills and tools.
- Materials:
- Wood (for frame and shelves)
- Metal doors
- Hinges
- Door handles
- Wood glue
- Screws and drill
- Saw
- Sandpaper
- Measuring tape
- Instructions:
- Cut the wood to create the frame and shelves.
- Sand the wood pieces smooth.
- Assemble the frame using wood glue and screws.
- Install the shelves inside the frame.
- Attach the metal doors to the frame using hinges.
- Install the door handles.
Personalized Touches
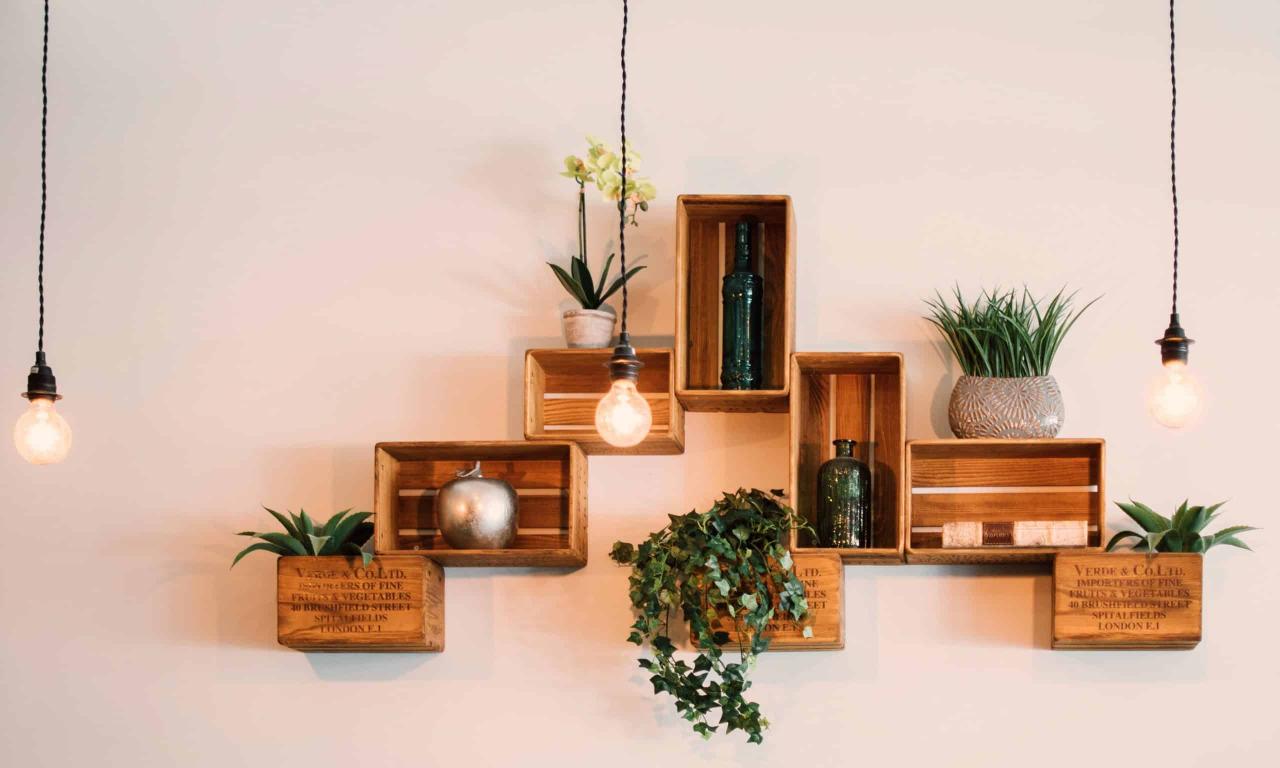
Adding personal touches to your home decor can transform a space from ordinary to extraordinary. These personalized elements infuse your home with warmth, character, and a sense of individuality.
Incorporating Family Photos, Artwork, and Mementos
Family photos, artwork, and mementos are powerful tools for adding personal touches to your home. These items tell stories, evoke memories, and create a sense of connection to your loved ones.
- Display Family Photos in Unique Ways: Instead of traditional picture frames, consider displaying photos in a gallery wall, shadow box, or on a vintage ladder. You can also create a photo collage using different sizes and shapes of frames.
- Showcase Artwork Created by Family Members: Whether it’s a child’s drawing, a painting by a grandparent, or a photograph taken by a family member, displaying these pieces adds a personal touch and showcases talent.
- Create a Memento Wall: Dedicate a wall to displaying mementos that hold sentimental value, such as ticket stubs, travel souvenirs, or dried flowers from a special occasion. This creates a visual narrative of your life experiences.
Designing a Personalized Wall Art Piece
A personalized wall art piece can be a focal point in your home, reflecting your unique style and interests.
“A personalized wall art piece can be a powerful statement, reflecting your passions, values, and memories.”
- Use a Favorite Quote: Choose a quote that resonates with you and have it printed on canvas, wood, or metal. You can also use calligraphy or lettering to create a custom design.
- Incorporate a Special Photo: Transform a favorite photo into a piece of art by using techniques like digital art, watercolors, or acrylics. You can also create a photo montage by combining multiple images.
- Display a Family Crest: If your family has a crest, consider displaying it prominently on a wall or in a framed design. This adds a touch of history and heritage to your home.
Creating a DIY Photo Album or Scrapbook
A photo album or scrapbook is a tangible way to preserve memories and tell stories.
- Choose a Theme: Select a theme for your album or scrapbook, such as a specific year, trip, or event. This will help you organize your photos and memories.
- Use Creative Embellishments: Add embellishments such as stickers, stamps, ribbons, and fabric scraps to enhance the visual appeal of your album or scrapbook.
- Write Captions and Stories: Include captions and stories to provide context for the photos and memories. This adds a personal touch and makes your album or scrapbook more engaging.
Concluding Remarks: Diy Decoration Ideas
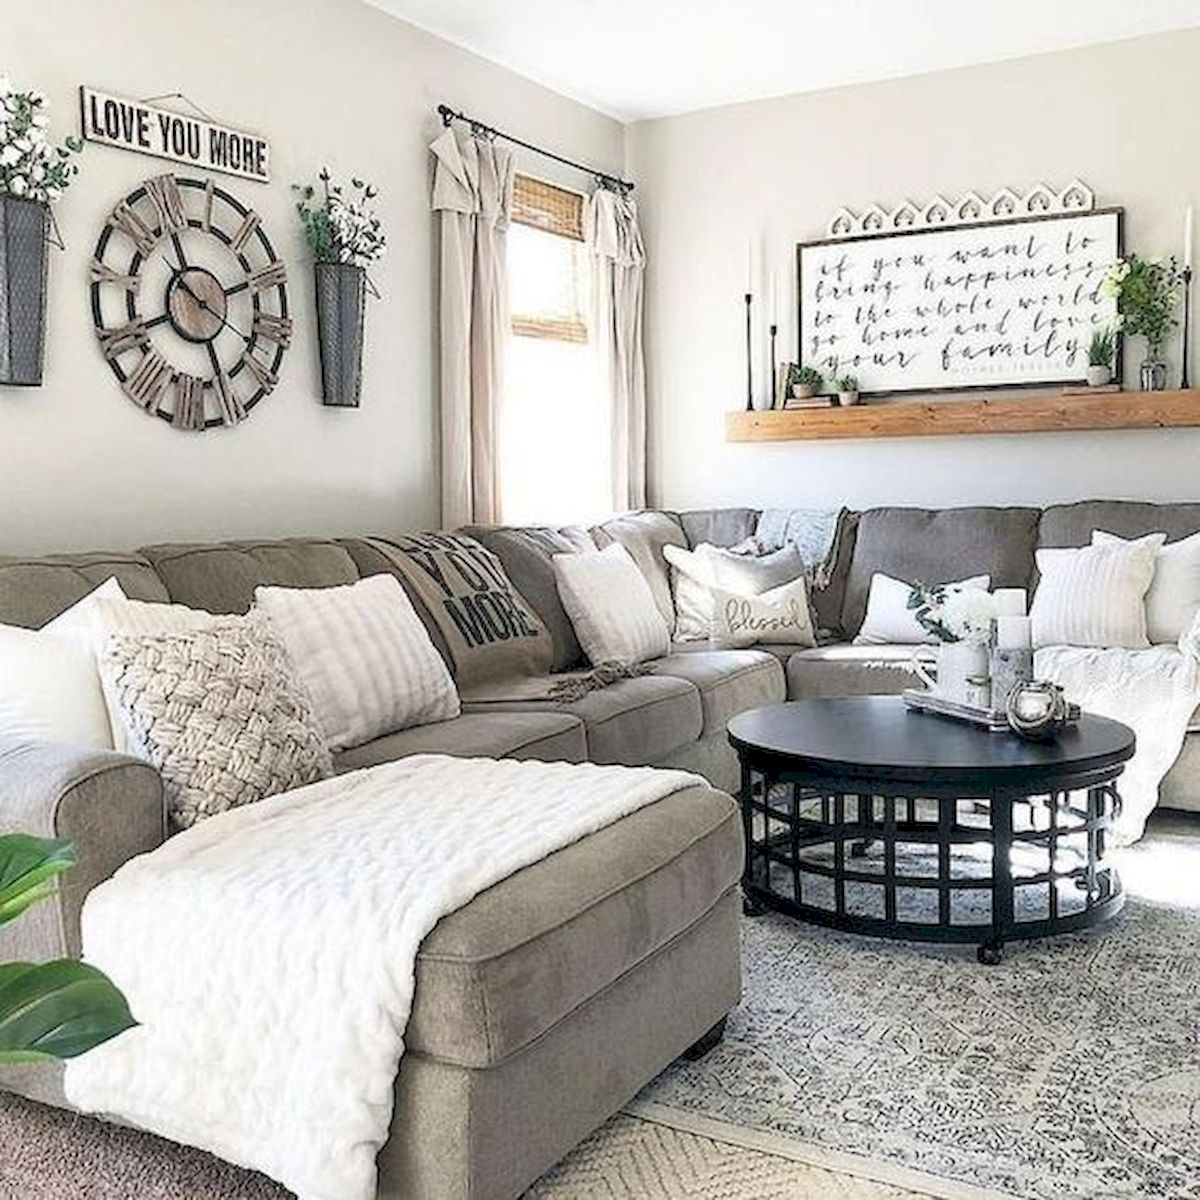
Embracing DIY decoration ideas allows you to unleash your creativity, personalize your surroundings, and enjoy the satisfaction of crafting something unique. With a little effort and imagination, you can create a home that is both stylish and inviting, reflecting your individual style and making it a space you truly love.
DIY decoration ideas are a fantastic way to personalize your home and express your creativity. If you’re looking for a special gift for Mother’s Day, consider making something yourself! Check out these DIY Mother’s Day gift ideas for inspiration.
Once you’ve created a beautiful gift, why not use the same skills to add some personal touches to your home decor? You’ll be amazed at what you can achieve with a little imagination and effort.

